%201.svg)


UV Light HVAC Installation: Brighten Your Air Quality
September 4, 2025
Why HVAC UV Light Installation is Essential for Texas Homes
For homeowners struggling with poor indoor air quality, UV light installation HVAC systems are a game-changer. These specialized lights use UV-C radiation to eliminate harmful microorganisms circulating through your home's air system.
Quick Installation Overview:
- Turn off power to your HVAC system at the breaker
- Choose placement - typically near the evaporator coil in the air handler
- Cut opening using a hole saw (usually 1" diameter)
- Mount the unit with self-tapping screws and seal with foil tape
- Connect power - either 24V to transformer or 120V direct
- Test operation using the UV sight glass
These lights emit germicidal UV-C light (at 254 nanometers) that destroys the DNA and RNA of bacteria, viruses, and mold, stopping them from reproducing and spreading.
Indoor air quality is a major concern, especially in Texas where humidity and heat create perfect conditions for microbial growth. UV lights are an effective solution.
The installation takes 2-4 hours for a qualified technician. Professional installation is strongly recommended due to electrical work and the need for precise placement to target microbes while protecting system components.
In Texas, UV lights are especially useful for controlling mold in our humid climate and reducing the "dirty sock smell" that can come from AC units.

What Are HVAC UV Lights and Why Do You Need Them?
Your HVAC system can circulate invisible invaders like bacteria, mold, and viruses. UV light installation HVAC systems act as microscopic security guards for your home's air.
HVAC UV lights use UV-C light in a process called Ultraviolet Germicidal Irradiation (UVGI), a technology trusted by hospitals for decades and now available for homes. When microorganisms are exposed to UV-C light, it disrupts their DNA and RNA, scrambling their genetic code so they can't reproduce or cause harm.
This process of microorganism deactivation dramatically improves indoor air quality, providing constant mold prevention, bacteria control, and virus neutralization. Scientific research on HVAC contamination highlights the significance of this issue, making UV light a smart investment for Texas families.
The Science Behind UV-C Air Purification
UV light is part of the electromagnetic spectrum. While UV-A and UV-B are known for tanning and sunburns, UV-C is the type used for germicidal purposes. The germicidal effect is most potent at a UV-C wavelength of 254 nanometers. At this wavelength, microorganisms absorb the most energy, which damages their cellular structure beyond repair.
Unlike filters that trap particles, UV-C light works by inactivating pathogens at a molecular level, preventing reproduction and stopping the problem at its source. UV-C light also provides odor reduction by breaking down Volatile Organic Compounds (VOCs), eliminating musty or stale smells and leaving your air fresher.
Key Benefits for Your Home and Health
UV light installation HVAC systems deliver significant health and comfort benefits. You'll notice reduced allergens as mold spores and bacteria are neutralized, which can lead to fewer illnesses—a major plus for families.
UV lights also improve HVAC efficiency. By preventing mold and biofilm buildup on evaporator coils—a common issue in Texas—your system doesn't have to work as hard, saving energy. This leads to an extended system lifespan with less strain on your equipment and fewer breakdowns.
For odor elimination, UV lights are a game-changer. They tackle the "dirty sock" smell and other musty odors by breaking down the organic compounds at the source.
For comprehensive solutions to improve your home's air quality, check out our Indoor Air Quality Services page. We're passionate about helping Texas families breathe easier.
Pre-Installation: Planning Your UV Light HVAC Installation
Planning your UV light installation HVAC project is crucial. A little preparation saves headaches and ensures a smooth process. This means gathering your tools and inspecting your HVAC system beforehand.

Your essential toolkit includes the UV light kit, a drill, a hole saw (usually 1-inch), and safety gear like protective glasses and gloves. Before starting, understand your HVAC system's power supply (24V transformer or 120V direct power). Inspecting the ductwork and evaporator coil area helps identify the best location and any potential challenges. Proper safety precautions, including using Personal Protective Equipment (PPE), are essential to protect both you and your HVAC equipment.
Choosing the Right Type of UV Light
Choosing the right type of UV light is essential, as each serves a specific purpose.
Coil sterilization units mount inside the air handler, shining on the evaporator coil and drain pan. They prevent mold, bacteria, and biofilm buildup on these damp surfaces, which helps eliminate the musty "dirty sock" smell.
Air sterilization systems are in-duct units that treat the air as it flows through your system, neutralizing harmful microorganisms before they enter your living spaces.
The choice between single-bulb and dual-bulb systems depends on your home's size and air quality concerns. Proper sizing and wattage are also critical for performance. The unit must be correctly sized for your HVAC system and air quality goals to be effective.
Determining the Optimal Placement
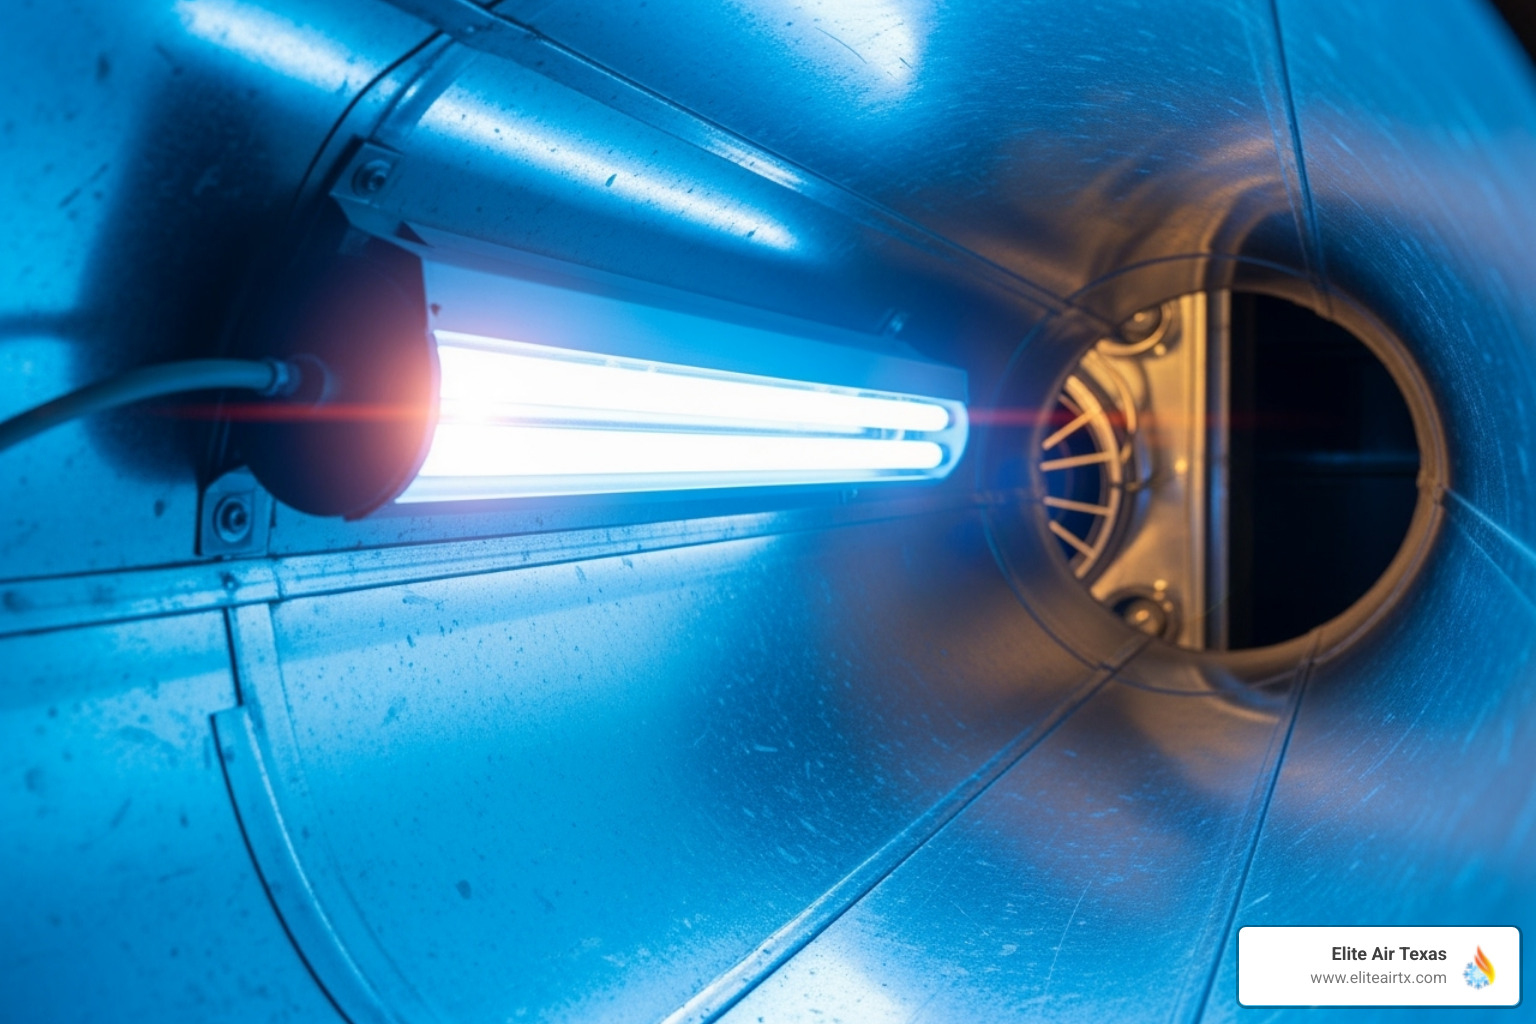
The placement of your UV light is critical for its effectiveness. The evaporator coil area is the prime location, as its damp, cool surface is a breeding ground for mold and bacteria. A UV light here will continuously sanitize the coil and drain pan.
Most UV lights are installed inside the air handler. The exact spot depends on your coil type, whether it's an A-coil or an N-shaped coil. For air sterilization, lights can be placed on the supply side or return side. Maximizing exposure time is key, so strategic positioning is vital for the light to have enough contact time to be effective.
A critical consideration is avoiding material degradation. UV light can damage plastics and wiring. Proper placement and shielding with reflective tape protect these vulnerable components.
Understanding your AC coils' condition helps ensure optimal UV light performance. If you're noticing issues with your coils, check out our guide on Signs AC Coils Need Professional Attention for helpful insights.
Step-by-Step Guide to Installing Your HVAC UV Light
While we recommend professional UV light installation HVAC for safety and performance, this guide explains the general steps so you know what to expect.

Step 1: Safety First - Power Down Your HVAC System
Safety is the top priority. A professional will first turn off the HVAC system's circuit breaker at the main electrical panel. Next, they'll turn off the dedicated power switch on the unit itself. Finally, they'll use a voltage tester for verifying no power is flowing to the system. This professional lockout/tagout procedure is a critical safety step.
Step 2: Prepare the Installation Area
With the power off, the next step is preparing the installation area.

Measuring and marking is done using the kit's template, typically near the evaporator coil for maximum effectiveness. Cutting the opening is done with a hole saw for sheet metal or a utility knife for duct board to create a clean, precise opening.
Step 3: Mount the UV Light Unit
Next is mounting the unit. Securing the base involves positioning the mounting bracket over the opening. Self-tapping screws are used to attach the base firmly to the air handler or ductwork. Sealing the opening with foil tape or sealant is crucial to prevent air leaks and ensure all air passes through the UV light's germicidal zone.
Step 4: Install the Bulb and Connect Power
This step requires careful handling and electrical expertise. Handling the bulb with gloves is essential, as skin oils can damage the bulb and reduce its effectiveness. Connecting the lamp cable to the power supply must be done securely, using water-resistant connections in humid climates.
The wiring connections are critical. 24V systems connect to the HVAC transformer for constant power. 120V direct connections require a qualified electrician for safety and code compliance. If you've had electrical issues, our post on Why AC Circuit Breaker Keeps Tripping might help.
Step 5: Final Checks and Power-Up
The final step ensures everything works correctly and safely. Installing the sight glass provides a safe way to see the light's operation without direct UV exposure. After restoring power, confirming operation involves checking the sight glass for the blue glow and verifying the power supply's LED indicators. A final air leak check around all seals and connections ensures system efficiency and UV light effectiveness.
Maintenance, Costs, and Long-Term Considerations
Your UV light installation HVAC system needs some simple, affordable maintenance to remain effective. Annual maintenance is key. The main task is replacing the bulb annually and occasionally cleaning the lamp (with the power off) to ensure peak performance.
For professional vs. DIY costs, hiring a technician for maintenance provides peace of mind, ensuring safe handling of electrical parts and proper bulb disposal. The energy consumption of a UV light is minimal, often less than a standard light bulb. The energy savings from improved HVAC efficiency can offset this cost.
How Often to Replace UV Bulbs and What It Costs
UV bulbs lose their germ-killing effectiveness over time, even if they still light up. The typical UV lamp lifespan is 1-2 years. After this period, its diminishing effectiveness means it no longer kills germs efficiently. For optimal performance, manufacturers recommend replacing bulbs every 12 months.
Replacement bulb costs are affordable and a worthwhile investment when considering the benefits. Professional replacement includes installation service fees but ensures correct installation, safe disposal of the old bulb (which contains mercury), and proper safety checks.
Potential Risks and How to Mitigate Them
While beneficial, UV lights must be installed and maintained properly to be safe.
Ozone production is a common concern. We only use ozone-free lamps that operate at the 254 nm wavelength, which is safe for residential use.
Material degradation of plastics and wiring can occur over time. Proper placement and protective measures like reflective shields or UV-resistant tape are used to protect vulnerable system components.
Eye and skin safety is paramount. Direct exposure to UV-C is harmful, which is why lights are installed inside sealed ductwork. During maintenance, power is always off, and technicians use protective equipment. We adhere to strict ASHRAE guidance on UV safety.
Here's how UV lights compare to other air purification methods:
| Feature | UV Lights (UVGI) | HEPA Filters | Ionizers |
|---|---|---|---|
| Primary Function | Kills/inactivates microorganisms | Traps particulate matter (dust, pollen, pet dander) | Electrically charges particles to make them stick to surfaces or each other |
| Effectiveness | Highly effective against mold, bacteria, viruses | Excellent for capturing fine particles (0.3 microns) | Can reduce airborne particles, but effectiveness varies |
| Ozone Production Risk | No, if 254nm wavelength is used | No | Yes, some older or poorly designed models can produce ozone |
| Maintenance | Bulb replacement (1-2 years) | Filter replacement (3-12 months) | Occasional cleaning of collection plates |
| Energy Efficiency Impact | Can improve HVAC efficiency by keeping coils clean | Can restrict airflow if not properly sized/maintained | Minimal |
| Targeted Issues | Microbes, odors | Allergens, dust, pet dander | Dust, smoke, allergens |
| Compatibility | Works well with filtration | Essential for physical particle removal | Can be controversial due to ozone concerns |
Frequently Asked Questions about HVAC UV Lights
Here are answers to common questions about UV light installation HVAC systems.
Can UV lights really kill mold and viruses in my HVAC system?
Yes, absolutely. UV-C light is a scientifically-proven technology used in hospitals for decades. When microorganisms like mold, bacteria, and viruses pass through the UV-C light, it scrambles their DNA and RNA, rendering them unable to reproduce and spread through your home. The process works continuously whenever your HVAC system runs, making it especially effective against mold that thrives on damp evaporator coils in Texas.
Are UV lights for HVAC systems safe for my family and pets?
Yes. While direct UV exposure is harmful, a professional UV light installation HVAC project is designed for complete safety. The UV-C light is completely contained within your sealed ductwork. Your family and pets are never exposed; only clean, treated air exits your vents. Safety features, like automatic shut-off switches on access panels, provide an extra layer of protection. Our technicians follow strict safety protocols during all service calls.
How much does it cost to have a UV light installed?
The cost for a UV light installation HVAC system varies based on the unit type, system complexity, and desired features. The total cost includes the unit and professional installation, which ensures proper placement, safe electrical connections, and optimal performance. We always recommend professional installation. Ongoing costs are low, mainly consisting of annual or biennial bulb replacement. Given the benefits—cleaner air, improved HVAC efficiency, and fewer illnesses—most homeowners find it a worthwhile investment. We provide detailed, transparent estimates custom to your specific home and needs.
Brighten Your Air Quality with Professional UV Light Installation
You've learned how UV light installation HVAC systems can transform your home's air by killing microorganisms and improving system efficiency. The benefits are clear: UV-C light provides fewer allergens, reduced illnesses, and cleaner air, along with improved HVAC efficiency, an extended system lifespan, and odor elimination.
However, UV light installation HVAC is not a DIY project. It requires professional expertise for electrical connections, optimal placement, and critical safety protocols to protect your family.
At Elite Air Texas, our NATE-certified technicians specialize in UV light installation HVAC services, ensuring the job is done right the first time. We create customized solutions for your unique home, considering your specific ductwork, coil type, and air quality concerns.
As a local company serving Aledo, Fort Worth, Arlington, Dallas, and surrounding areas, we understand the challenges of the Texas climate. We're dedicated to helping our neighbors achieve clean, healthy indoor air.
Choose Elite Air Texas for affordable comfort with elite service. We stand behind our work with significant discounts, free second opinions, and a 10-year labor warranty, so you can feel confident in your investment.
Your family deserves to breathe clean, healthy air. Don't wait to address the invisible threats circulating in your home.
Ready to take that next step? Schedule your professional air conditioning service in Fort Worth and let's brighten your air quality together. Your lungs will thank you.

Ready to Enhance Your Comfort?
Contact our experts today to discover tailored HVAC solutions that fit your needs perfectly.

