%201.svg)


Unlock Smart Savings: Your Guide to Thermostat Installation
October 27, 2025
Why a Smart Thermostat is a Smart Move for Your Home
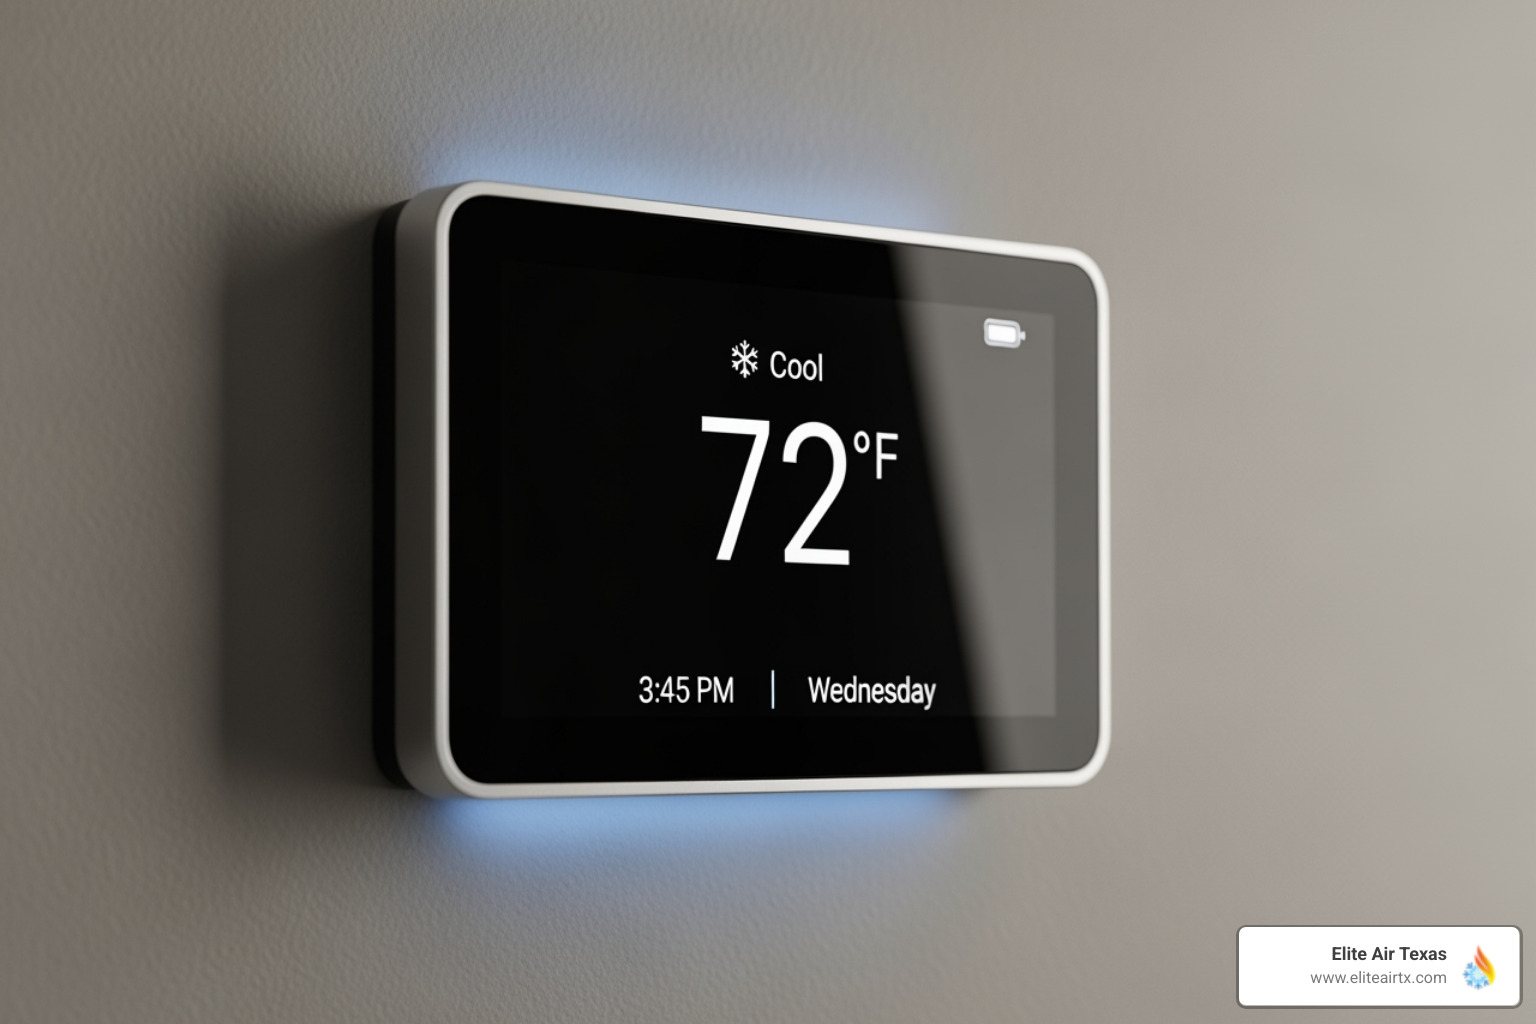
Smart thermostat installation is a popular DIY project that can often be completed in under an hour. Here’s a quick overview:
Quick Installation Overview:
- Turn off power at your breaker panel
- Remove your old thermostat and photograph the wiring
- Label and disconnect the wires
- Mount the new backplate and reconnect wires
- Attach the faceplate and restore power
- Connect to Wi-Fi and complete app setup
As energy costs climb in Texas, a smart thermostat is a proven solution. It can reduce your heating and cooling costs by up to 15% by learning your schedule and preferences to optimize comfort while minimizing waste. Unlike traditional thermostats requiring manual changes, smart models automate temperature adjustments. For instance, they make it effortless to follow the U.S. Department of Energy's recommendation of 68°F in winter and 78°F in summer for optimal savings.
Beyond savings, these devices offer modern convenience. You can adjust your home's temperature from anywhere using your smartphone, ensuring you never waste energy or come home to an uncomfortable house. They also learn your routines, programming themselves after about a week to create a schedule that maximizes comfort and efficiency. Plus, smart home technology is an attractive feature for potential buyers, with studies showing 81% of people are more likely to buy a home if smart tech is already installed.

Smart thermostat installation basics:
While many homeowners can handle the installation, it's important to know when professional help is needed, especially with non-standard wiring.
Before You Begin: The Pre-Installation Checklist
A little preparation makes your smart thermostat installation go smoothly. First, gather your tools: a screwdriver (Phillips and flathead), a level, a pencil, and your smartphone. You might also need wire strippers, labels, and a drill.
Location is key for accurate temperature readings. Mount your thermostat on an interior wall in a central area, about four to six feet above the floor. Avoid kitchens, drafty hallways, direct sunlight, and areas near heat-producing appliances or supply vents, as these can cause inaccurate readings.
Timing your installation in the milder spring or fall months is ideal. This way, you won't be without climate control during extreme Texas heat or a cold snap if the project takes longer than expected.
Finally, check for rebates before you buy. Many utility companies offer cash back for upgrading. A few minutes of research could save you money. You can find potential rebates here. For more ways to lower your energy bills, see our energy saving tips for commercial HVAC systems.
Is Your HVAC System Compatible?
Most smart thermostats are compatible with over 85% of existing systems. Here’s a quick breakdown:
- Low-voltage systems (24V): These are the most common type, found in homes with central heating and air conditioning. Most smart thermostats are designed for these systems.
- High-voltage systems (120V/240V): Used for electric baseboard heaters or radiant floor heating, these require specialized high-voltage smart thermostats.
- Heat pumps: Most smart thermostats work well with heat pumps, which provide both heating and cooling. Check for specific compatibility, especially if you have auxiliary heat.
- Ductless systems (mini-splits): Installation is often simple, using smart controllers that communicate with your unit via infrared.
Before buying, use the manufacturer's online compatibility checker. Both Ecobee and Google Nest offer easy-to-use tools.
The C-Wire Question for Your Smart Thermostat Installation
The C-wire, or common wire, is often a critical factor for smart thermostat installation. It provides continuous 24V power from your HVAC system, which smart thermostats need for their Wi-Fi connections and color screens. Old thermostats often used batteries or “power stealing,” but this isn't reliable enough for a smart device.
Without a C-wire, your thermostat may flicker, drain batteries quickly, or cause your HVAC system to cycle incorrectly, potentially damaging the control board over time.
To check for a C-wire: Turn off the power at your breaker, then remove your old thermostat's faceplate. If you see a wire connected to a terminal labeled “C,” you’re good to go. Sometimes an unused wire is tucked in the wall, which can be connected at the furnace control board.

If you don't have a C-wire, many thermostats include a C-wire adapter kit. These kits connect at your HVAC control board to provide the necessary power without running new wires. Google offers a C-wire adapter for its Nest thermostats. If you're not comfortable with this step, our Elite Air Texas technicians can safely install a C-wire or adapter for you.
Your Step-by-Step Smart Thermostat Installation Guide
With your new thermostat ready, it's time to begin the smart thermostat installation. Safety is the top priority.
First, turn off the power to your HVAC system at your electrical breaker panel. Flip the breaker for your furnace and air conditioner to the "off" position. To be certain the power is off, try adjusting your old thermostat; if the system doesn't turn on, you're ready. This simple step protects you and your equipment.

With the power off, gently remove the faceplate of your old thermostat. Most snap off, but check for small clips or screws if it feels stuck.
Step 1: Document and Disconnect Your Old Thermostat
This step is critical for a smooth smart thermostat installation. With the faceplate off, you'll see wires connected to labeled terminals.
Take several clear photos of the wiring with your smartphone. Ensure you can see which color wire connects to which terminal letter (e.g., R, W, G, Y, C). These photos are your guide for connecting the new thermostat.

Next, label each wire with the letter of the terminal it was connected to. Most smart thermostats include labels. Don't rely on wire color alone, as conventions can vary. The terminal label is what matters.
Once labeled, disconnect the wires by loosening the terminal screws. Secure the wires to prevent them from falling back into the wall. Finally, remove the old backplate by unscrewing it from the wall.
Step 2: Mount and Wire the New Thermostat
Now, let's install your new smart thermostat.
Install the new backplate by feeding the labeled wires through the center opening. Use the backplate as a template to mark new screw holes if needed. Many thermostats include an optional trim plate to cover any old paint marks or holes.
Use your level to ensure the backplate is straight before securing it with the provided screws. Avoid overtightening, which can crack the plastic.
Next, connect the wires to the new terminals, matching each labeled wire to its corresponding terminal on the new backplate. Insert the wire and tighten the screw, then give it a gentle tug to confirm it's secure. If needed, use wire strippers to expose fresh copper.
Tuck any excess wire back into the wall and attach the new faceplate. It should click securely into place.
Finally, go back to your breaker panel and restore power to your HVAC system. Your new thermostat should power on and begin its setup process.
Final Steps: Connecting and Customizing Your Thermostat
With the physical installation complete, the final step in your smart thermostat installation is connecting it to your network to open up its intelligent features.
Your thermostat will guide you through a setup wizard on its screen. First, connect it to your home's Wi-Fi network. This is essential for remote control, weather data, and software updates. Most smart thermostats use the 2.4GHz Wi-Fi band, so select that network if you have multiple options. Follow the prompts to enter your network password.
Next, download your thermostat's mobile app (Ecobee, Google Nest, etc.) from your app store. Create an account and follow the in-app instructions to link your new device. You'll provide basic information about your home and HVAC system to help optimize its performance.

Now, program an initial schedule. While the thermostat will learn your habits, a starting schedule helps it work efficiently from day one. Set different temperatures for when you're home, away, and asleep.
Explore the advanced features to maximize your savings and comfort:
- Geofencing: Uses your phone's location to automatically adjust the temperature when you leave and return home.
- Remote sensors: Place these in other rooms to help balance temperatures throughout your entire home, not just near the thermostat.
- Energy usage reports: Review these in the app to understand your energy consumption and find more ways to save.
Your smart thermostat is now ready to improve your home's comfort and efficiency. Good Indoor Air Quality is another key component of home comfort, a specialty of ours at Elite Air Texas.
Common Challenges and When to Call a Professional
Even a well-planned smart thermostat installation can present challenges. Knowing what to look for and when to call a professional is key.
- Mismatched wiring: If your new thermostat shows an error or the system doesn't respond, your wiring may not follow standard conventions. Double-check your photos and the wiring diagrams for both thermostats.
- Thermostat won't power on: This is often a C-wire issue. Ensure the C-wire is connected correctly. Also, check that the breaker is fully on and hasn't tripped. A blown fuse in the HVAC unit is another possibility.
- Wi-Fi connectivity issues: If your thermostat won't connect, check the distance to your router and ensure you're using the 2.4GHz network. Restarting your router and thermostat can often resolve the issue.
- Strange HVAC behavior: If the fan runs constantly or heating/cooling cycles are incorrect, a wire is likely in the wrong terminal. Power down the system and re-check your connections against your photos and the diagram.
To avoid these issues, be methodical. Always turn off the power, take clear photos, and label wires based on their terminal, not just their color. Follow the manufacturer's instructions precisely.
There is no shame in calling for professional help. In fact, it's the wisest choice in certain situations. Contact Elite Air Texas if:
- You feel uncomfortable at any stage of the process.
- Your wiring appears complex, non-standard, or you see high-voltage wires.
- Your HVAC system isn't responding correctly after troubleshooting.
- You need a C-wire installed and aren't confident working inside your furnace.
Continuing to experiment can risk damaging your HVAC system, which is a much costlier repair than a professional installation visit. Our team can diagnose issues quickly and ensure your system runs safely and efficiently. Proper HVAC maintenance also prevents future problems. Learn more about our Preventative Maintenance Agreements to keep your system in top shape.
Frequently Asked Questions about Smart Thermostats
Here are answers to some common questions about upgrading to a smart thermostat.
How does a smart thermostat installation differ from a traditional one?
The main differences in a smart thermostat installation are power and connectivity. Smart thermostats require a continuous 24V power supply, usually from a C-wire, to run their advanced features like Wi-Fi and touchscreens. Traditional thermostats often don't need this. After the physical install, a smart thermostat must be connected to your Wi-Fi network and set up via a smartphone app, which enables remote control and other smart features. Finally, they use learning algorithms to create schedules automatically, unlike traditional models that require manual programming.
What are the potential energy savings with a smart thermostat?
Smart thermostats can reduce your heating and cooling costs by up to 15%. These savings come from intelligent features working together. Geofencing adjusts the temperature when you're away, smart scheduling adapts to your actual lifestyle, and learning algorithms anticipate your comfort needs. The energy usage reports provided in the app also help you identify more opportunities to save money without sacrificing comfort.
What should I do if I encounter problems during installation?
If you run into trouble during your smart thermostat installation, don't panic. First, consult the manufacturer's installation guide and its troubleshooting section. Next, carefully review the wiring photos you took to ensure every connection is correct. You can also find excellent support resources like video tutorials and FAQs on the manufacturer's website.
However, the most important advice is to know when to stop and call a professional. If you're unsure about wiring or your system isn't working correctly after basic troubleshooting, it's time to call for expert help. Guessing can lead to costly damage to your HVAC system. Our team at Elite Air Texas can resolve installation issues safely and correctly. Regular maintenance can also prevent issues; check out our Preventative Maintenance Agreements.
Enjoy a Smarter, More Comfortable Home
Congratulations on completing your smart thermostat installation! You're now set to enjoy a more efficient and convenient way to manage your home's comfort.
You can look forward to up to 15% savings on your heating and cooling costs—a significant benefit in Texas. You've also gained the convenience of controlling your home's climate from anywhere with your smartphone. In the long term, this upgrade adds value and appeal to your property for future buyers.
However, even the smartest thermostat relies on a healthy HVAC system. If your system is inefficient or aging, a new thermostat can only do so much. Regular professional maintenance is key to getting the maximum performance and efficiency from your smart thermostat and your entire system.
At Elite Air Texas, we help homeowners in Aledo, Fort Worth, Dallas, and surrounding areas achieve true home comfort. Whether you need help with an installation, routine maintenance, or a system upgrade, our team provides expertise and friendly service you can trust.
For expert help with your HVAC system, trust the team at Elite Air Texas. Schedule your HVAC service in Fort Worth, TX today and experience the difference that elite service makes.

Ready to Enhance Your Comfort?
Contact our experts today to discover tailored HVAC solutions that fit your needs perfectly.

